Install Ubuntu Desktop
Headless System
A headless system refers to a computer or device that operates without a graphical user interface (GUI) or display. In other words, it doesn’t have a monitor, keyboard, or mouse connected to it. Instead, it is typically controlled remotely through a network connection. In the context of Ubuntu, a headless system can be a server or a device that doesn’t require a graphical interface. It is commonly used for tasks such as web servers, file servers, IoT devices, or remote administration. One example of a headless system in Ubuntu is a web server. You can install Ubuntu Server edition on a machine without a monitor, and then configure it to serve web pages. You can manage and administer the server remotely using SSH (Secure Shell) or other remote administration tools. Another example is a Raspberry Pi running Ubuntu Server. Raspberry Pi is a popular single-board computer that can be used for various projects. By running Ubuntu Server on a Raspberry Pi, you can create a headless system for tasks like home automation, media streaming, or network monitoring. In both cases, the absence of a graphical interface allows the system to be more lightweight and efficient, as it doesn’t need to allocate resources for rendering graphics. Instead, it focuses on performing its intended tasks efficiently. Do you have any specific questions or anything else you would like to know about headless systems in Ubuntu?
Installing Desktop
Update the server, install taskel then install ubuntu desktop:
1
2
3
 sudo apt-get update && sudo apt-get upgrade -y
 sudo apt install tasksel
 sudo tasksel install ubuntu-desktop
On
WSLafter isntalling thetaskselrunsudo taskseland select a desktop environment, useSpacebarto select andTabto selectokorcancel
Install and enable remote desktop with xrdp
1
2
 sudo apt install xrdp -y
 sudo systemctl enable --now xrdp
Add the port 3389 to the iptables and save
1
2
 sudo iptables -I INPUT 6 -m state --state NEW -p tcp --dport 3389 -j ACCEPT
 sudo netfilter-persistent save
- Create a user for xdrp
1
2
 sudo adduser <userName>
 sudo usermod -G xrdp <userName>
Reboot machine/server
1
 sudo reboot
Expected Issues
If you ran into an annoying popup issue “Authentication is required to create a color profile” when using Windows Remote Desktop. You can solve this by setting up a config for polkit.
Create a config file:
1
 sudo nano /etc/polkit-1/localauthority.conf.d/02-allow-colord.conf
Paste in the following:
1
2
3
4
5
6
7
8
9
10
11
12
 /etc/polkit-1/localauthority.conf.d/02-allow-colord.conf
 polkit.addRule(function(action, subject) {
 if ((action.id == "org.freedesktop.color-manager.create-device" ||
 action.id == "org.freedesktop.color-manager.create-profile" ||
 action.id == "org.freedesktop.color-manager.delete-device" ||
 action.id == "org.freedesktop.color-manager.delete-profile" ||
 action.id == "org.freedesktop.color-manager.modify-device" ||
 action.id == "org.freedesktop.color-manager.modify-profile") &&
 subject.isInGroup("{users}")) {
 return polkit.Result.YES;
 }
 });
After saving the file, reboot the server:
1
 sudo reboot
Connecting with Remote System
Find the ip address of the machine use
ifconfigcommand and see the ip address1
ifconfig
Now open the
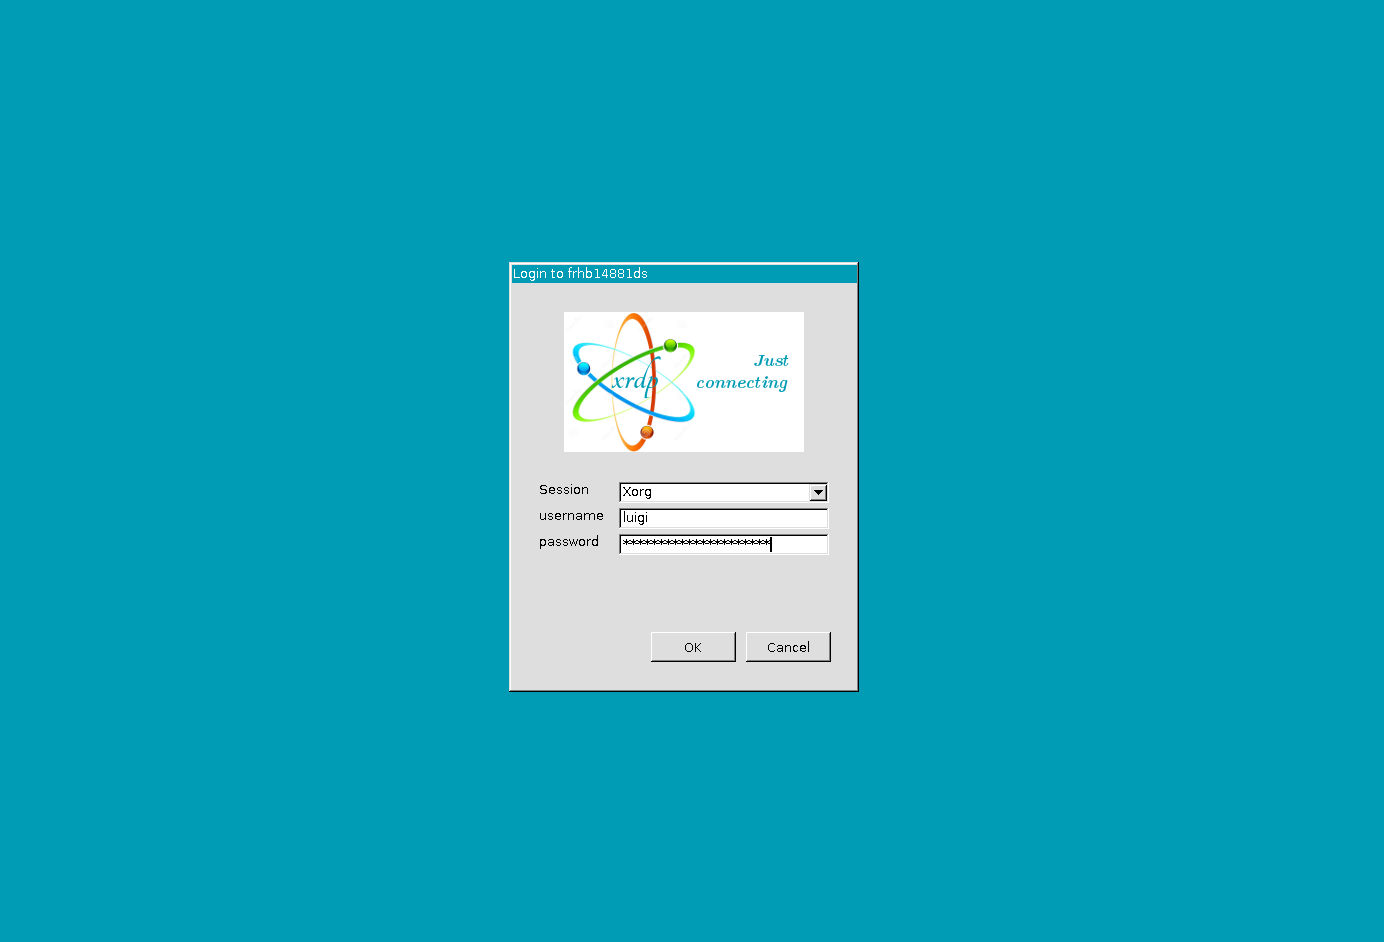
Remote Desktop Connectionutility on you windows machine and enter the ip address of machine in computer name section and clickConnectIt will open up the desktop window, enter the username and password and click ok, Yaaaayy!! You are connected to Desktop environmet!